
Let’s learn to analyze the problems of 3d prints
You do not expect to find in this article the solution to all the problems of 3D printing, but more a suggestion for the analysis of the results to allow you to improve the quality of the final result.
I took photos of 3D printed pieces of an acquaintance of mine as an example, obtained with unsatisfactory quality, to analyze the defects and then try to eliminate them by trying to identify the causes.
The more experienced will surely find my considerations useless, but to some neophytes, like me, maybe they will suggest where to act to improve the quality of 3D prints.
It being understood that a good printer, a good hotend and good filaments certainly make the difference, let’s see the first photo, a classic …… the detachment from the print bed.
In the photo below we see the inverted piece with the angle that tends to go down, actually to go up 🙂

Let’s see what happened.
Our printer deposited the first layer, then moved on to the second and third. Immediately afterwards the corners began to detach from the bed and to “curl”. As the material cools, it retains its position and shape
and then the subsequent layers are deposited on it finding a surface, even if curved, quite robust and adherent. Since the height of the hotend is that foreseen by the slicer, in the end the upper part of the piece will be printed almost well thanks to a “pressure” exerted during the suggestive passages of the nozzle. The causes of this warping can be many, starting from a misaligned mechanics, a wrong temperature or a non-optimal slicer configuration.
The correct bed / nozzle alignment is essential to avoid this defect, as well as the adoption of hairspray (just the one for the hair) or better still of the BRIM which is nothing more than an extension of our first layer, a sort of “enlargement” of the same that we will easily remove at the end of the printing In some cases, a forced ventilation, making the deposited PLA cool down almost instantly, is already sufficient to guarantee the success of the print, avoiding it from embarking. Another solution to avoid this problem is the adoption of a heated bed which is essential if you want to print ABS but, in addition to providing for a further purchase, you must also consider the adoption of a power supply that is sufficiently powerful to supply the current necessary for everything.
Nella foto successiva possiamo evidenziare quasi la mancanza di un layer e una non corretta adesione tra alcuni altri subito prima e dopo.
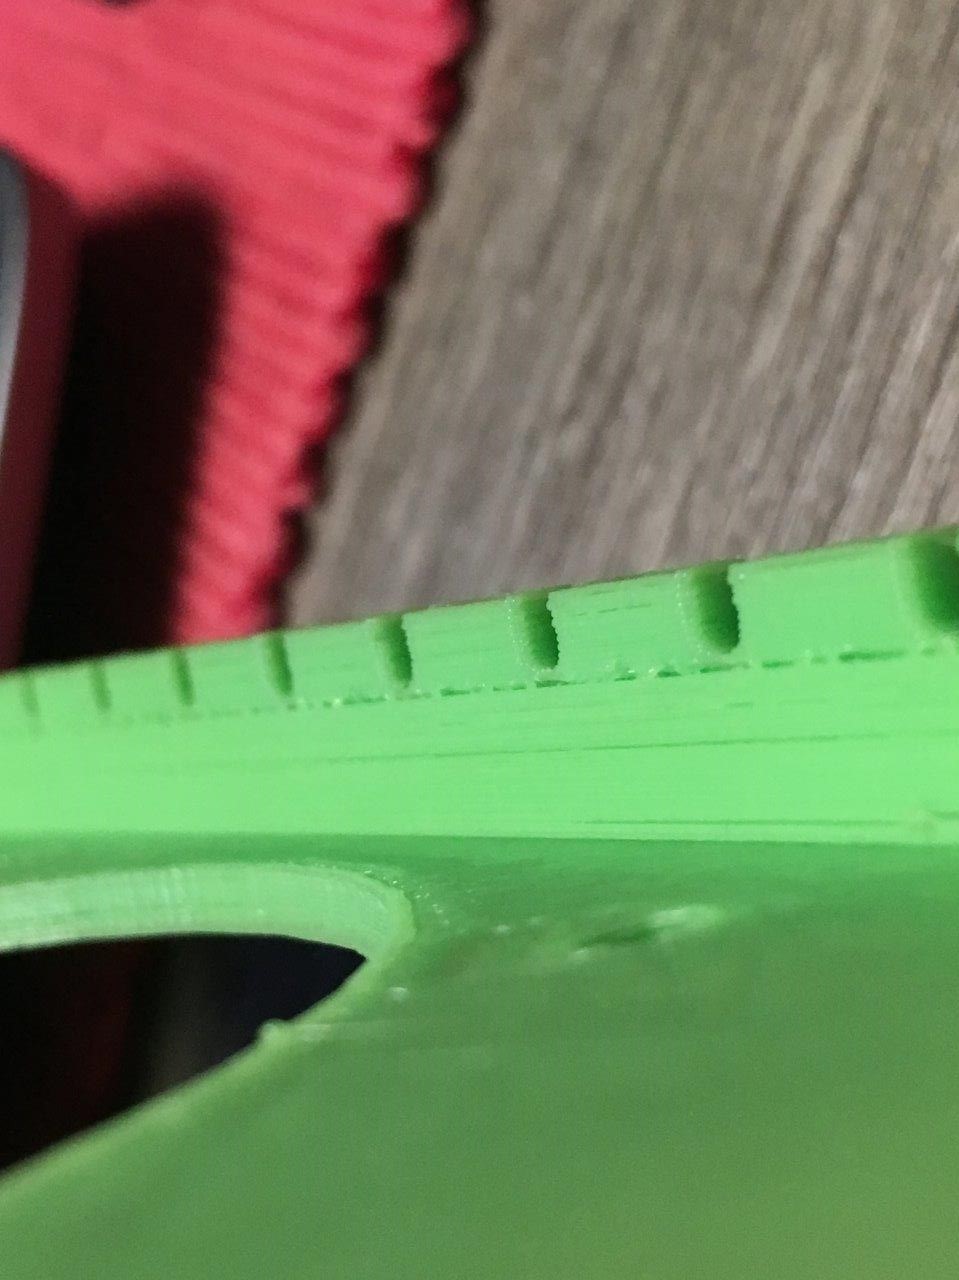
In this case it almost seems that in some points the hotend was unable to release the filament leaving in fact some “gaps”, more or less important, between some layers. In addition to compromising the aesthetics, this also affects the functional characteristics of the piece we are printing, especially if it is a part with mechanical and / or dynamic characteristics. Also in this case there are many causes that can generate the defect, first of all a bad job by the extruder. In this case, whether it is a bowden or a wade, we must make sure that the filament is constantly dragged and then check all the mechanical part used to push the filament into the hotend, without neglecting anything, even the coupling of the shaft. motor with the pulleys in play or the correct rolling of the reel on its support. In the case of the bowden also the smoothness of the filament in the tube that connects the etrusor with the hotend. Other responsibility could be attributable to incorrect or inconsistent temperature. A lowering of a few degrees could make it difficult for material to escape from the nozzle and therefore leave gaps between the layers. Even a bad quality material can be responsible for this defect by being extruded in a non-homogeneous way. Last but not least, let’s consider the work that the stepper motor of our extruder has to do, it is perhaps the most stressed of the whole printer, so let’s make sure that its driver is well regulated and also cooled.
The following image highlights non-homogeneous layers, especially the one relating to the top.
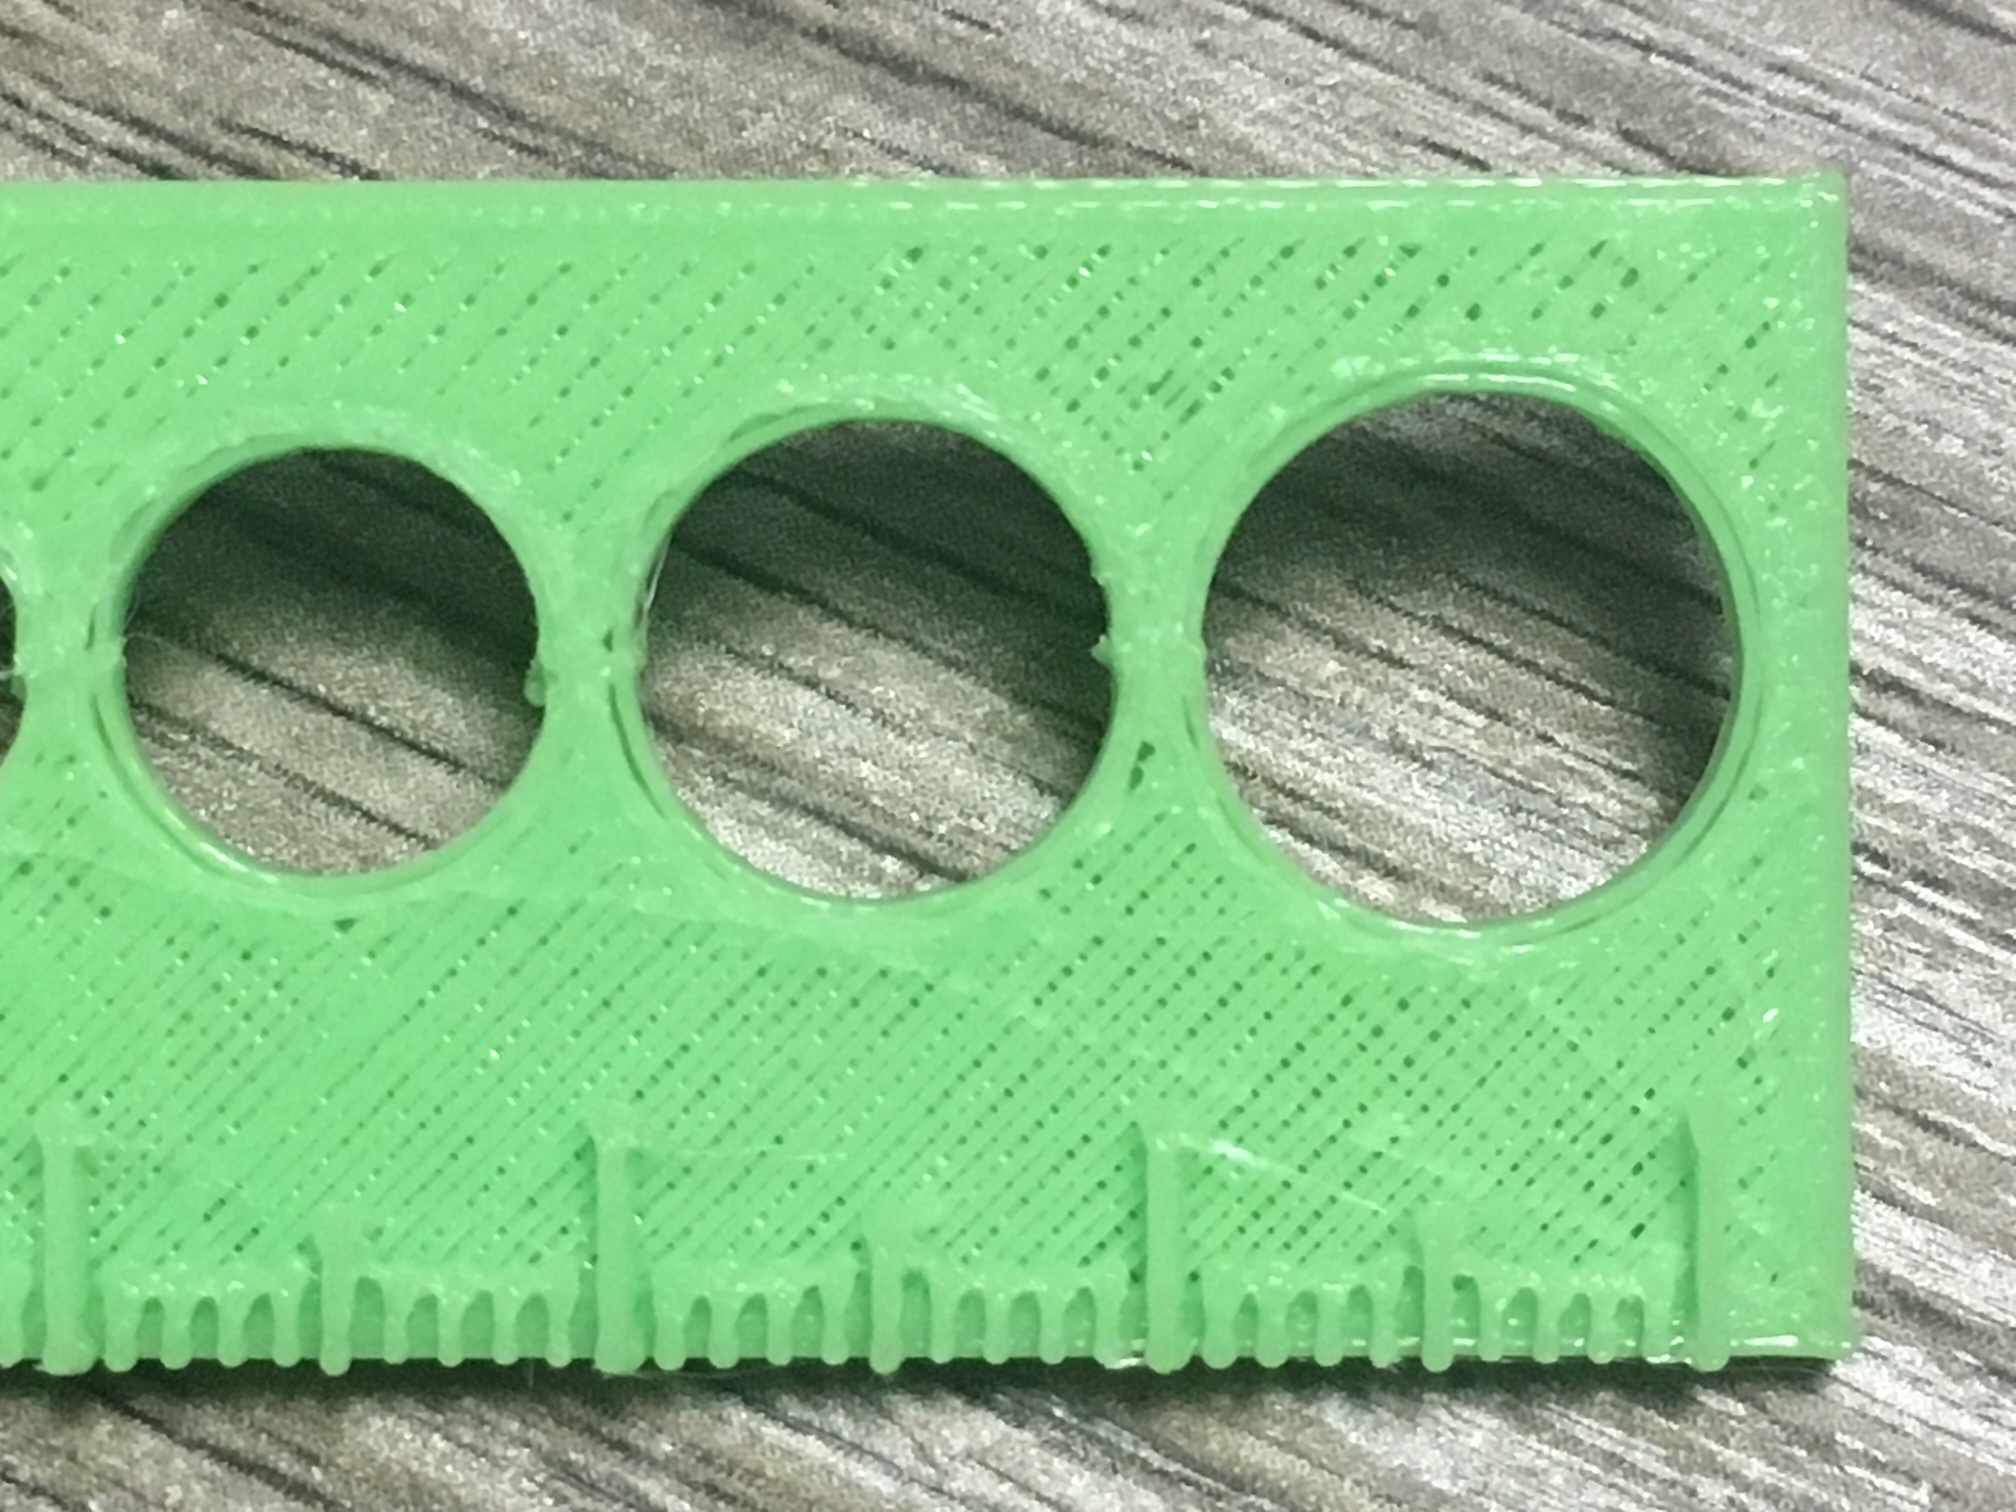
Looking carefully at the photo it seems that the filament has been deposited by jumping one layer every two, both in one direction and the other, both for the top and for the layer immediately before.
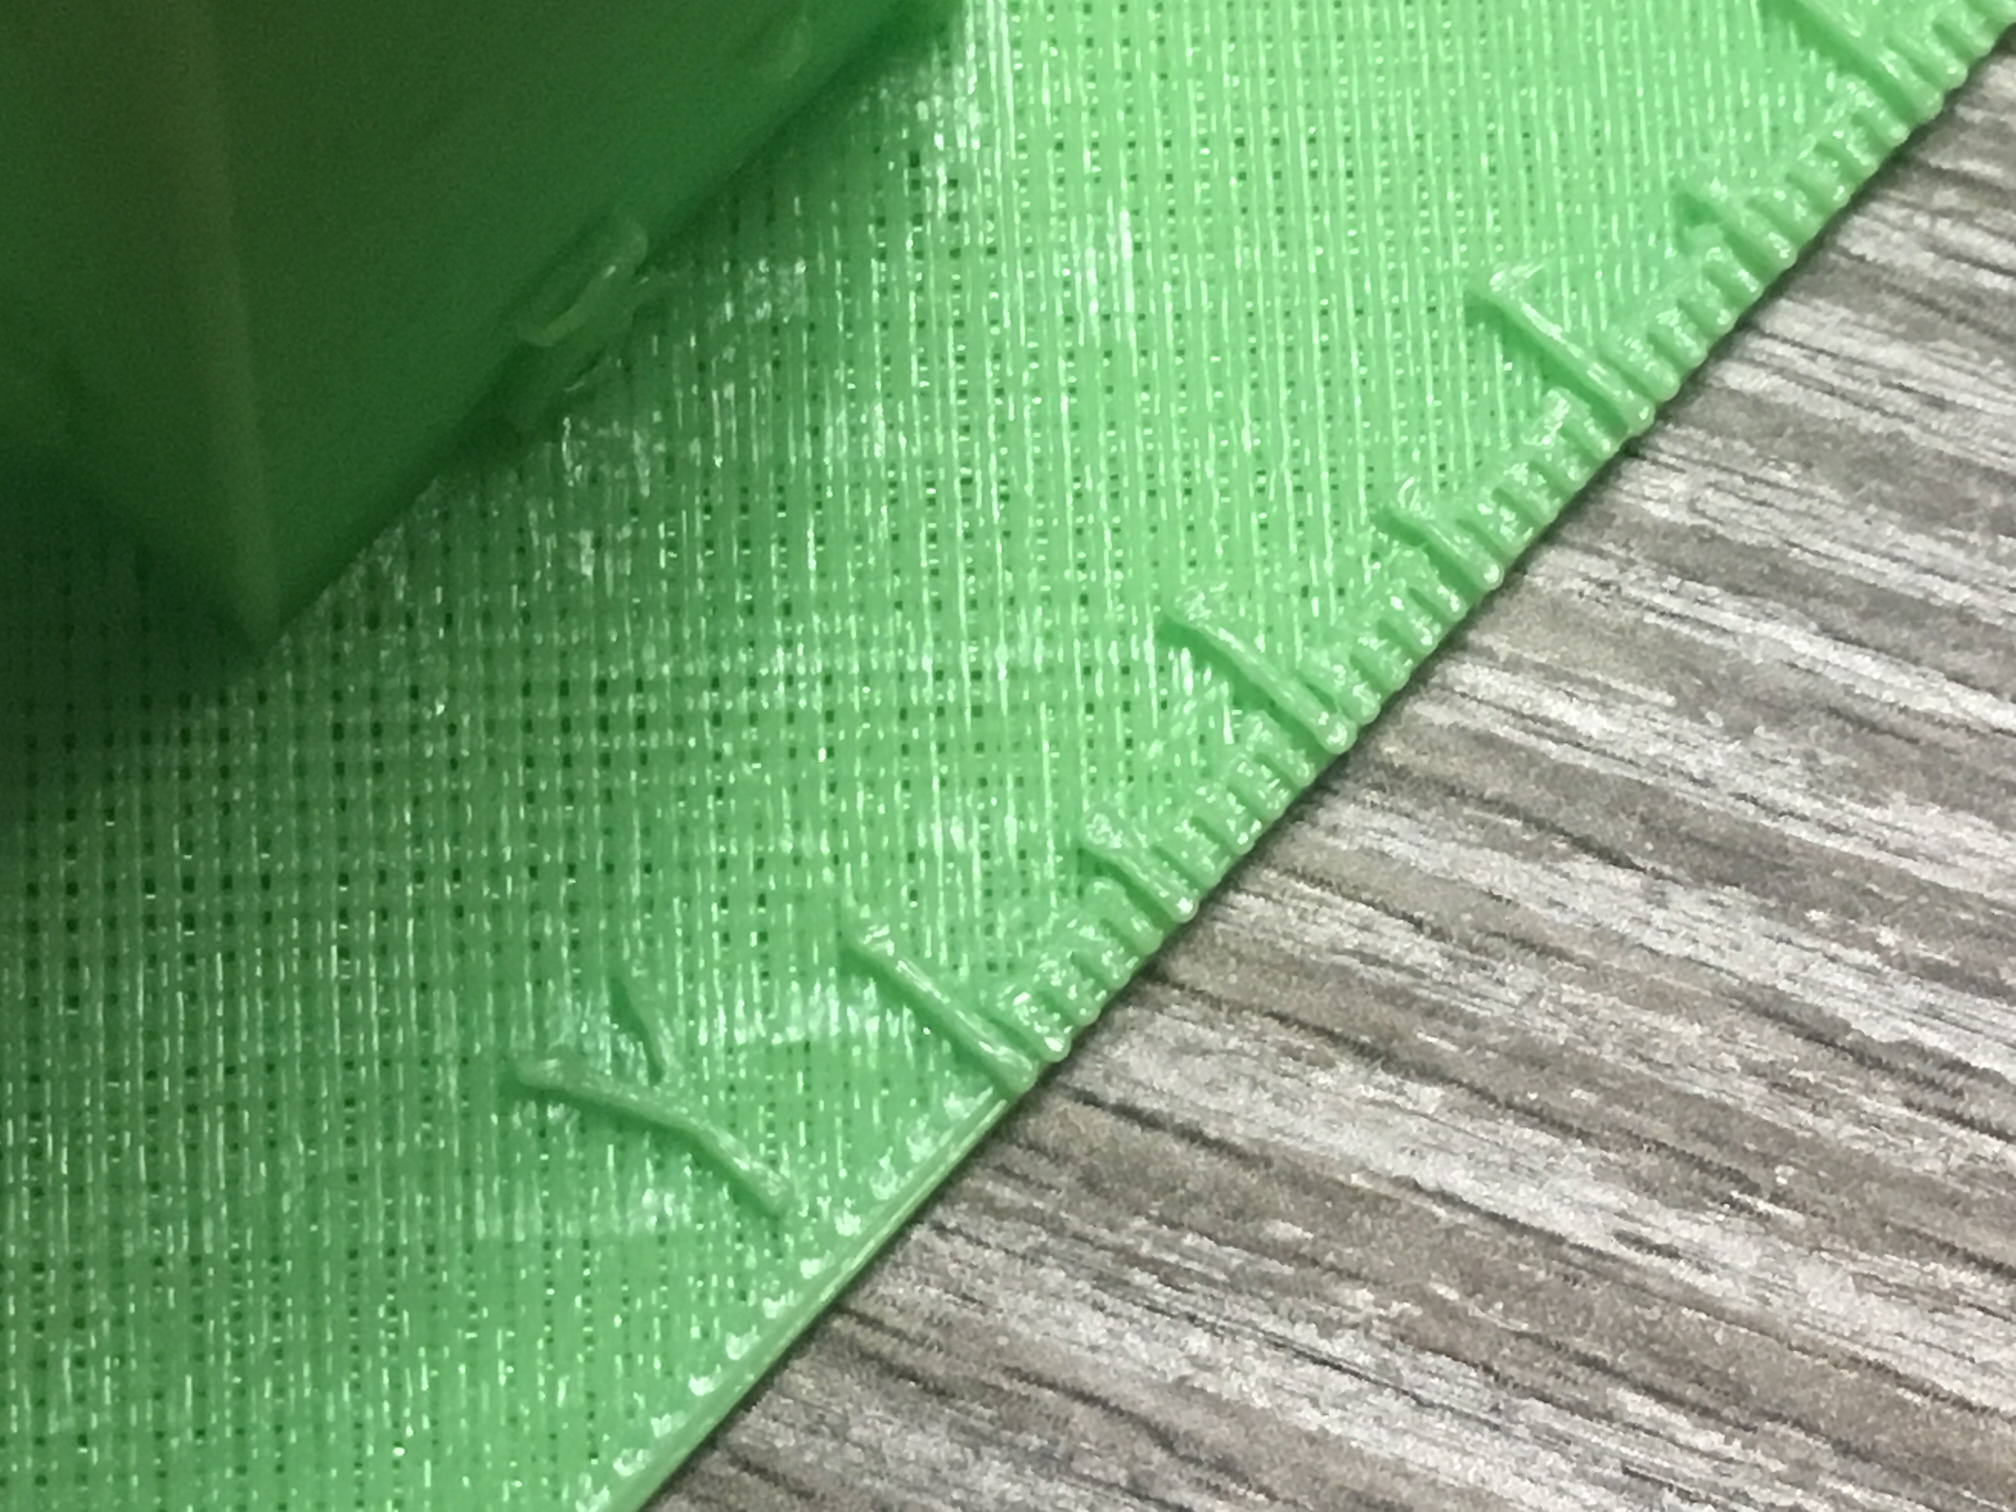
Assuming that in this case we have no problems related to extrusion, a first analysis leads to think of a constant loss of steps of the motors that move the plate, in this case of a core xy. In reality, if we look at the image as a whole, the absence of filament is only on flat layers with a relatively large surface, in the vertical part the defect does not occur. In fact, for the lower part the platter moved by exploiting both the movement of X and Y together, while for the vertical part it first performed a translation on Y and then one on X. If there had been a loss of steps on one of the two axes, it should have been seen there too, so the problem is another and only occurs when the movement of the two axes is simultaneous. The parts to be checked at this point are “limited” to the transmission, for example the belts, or to the sliding elements such as the bearings and the ground bars themselves. Very often a scratch on one of the latter, even if not very visible, turns into a jump of position which involves the defect highlighted in the photo.
Hoping not to have bored anyone and above all to be useful to someone …… 🙂
if you want to know more, if you need help write to info@3deasy.it
if you want to be updated on the next article, fill in the following fields to subscribe to the newsletter.