
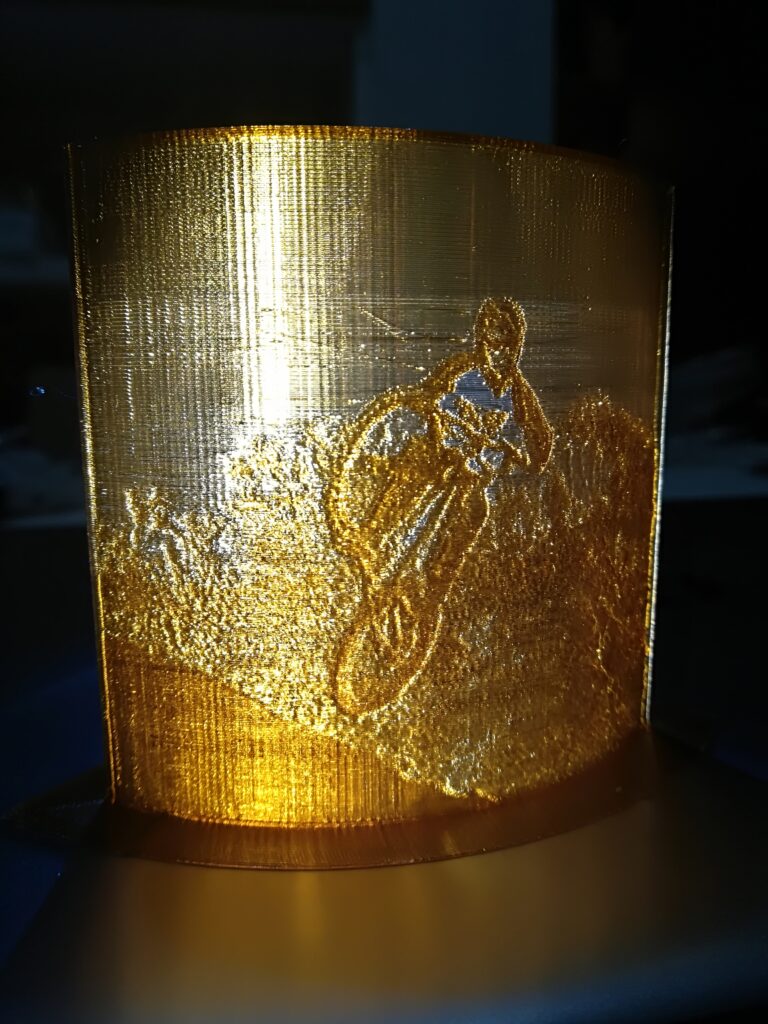
create 3d printed lithophanes
Do we want to make lithophanes of our photos with 3d printing?
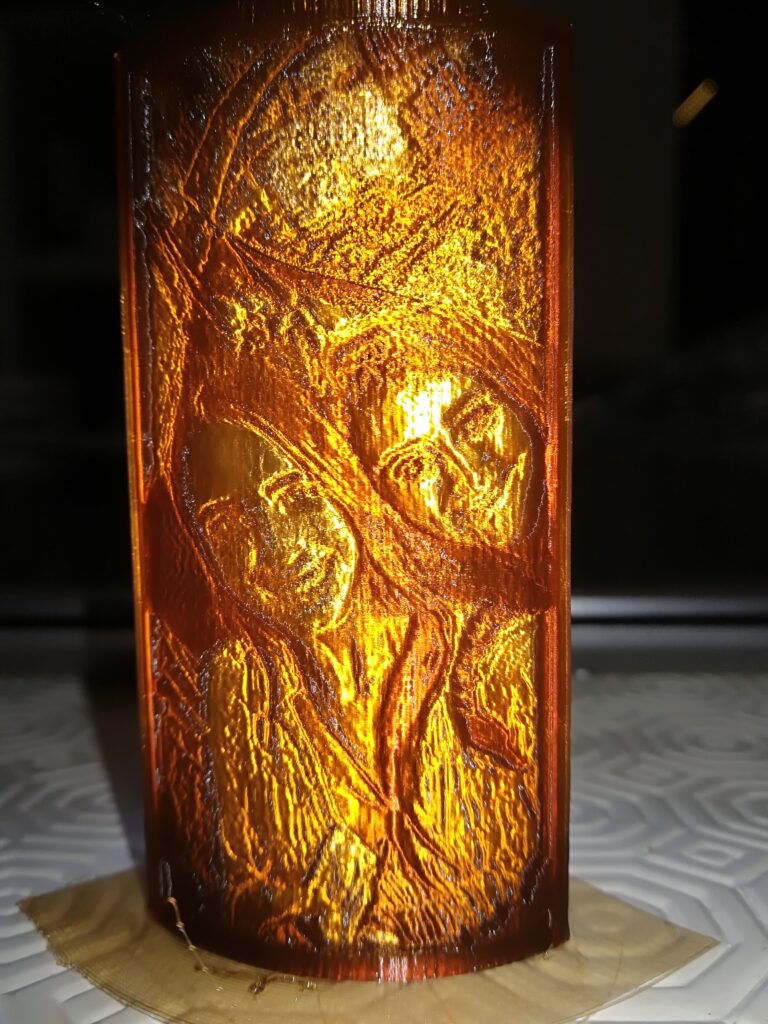
Surely you can get very particular and effective things with our 3d printers, among these things we can precisely create lithophanes.
Creating litophane with our 3d printers may seem not an easy thing, in reality it is easier than it may seem thanks to a service available online for free from 3dprocks .
the site offers a tool available here where you can upload 2d images to be transformed into stl files to print lithographs.
Let’s see how to exploit the potential of this service.
We load our 2d image using the “Images” button
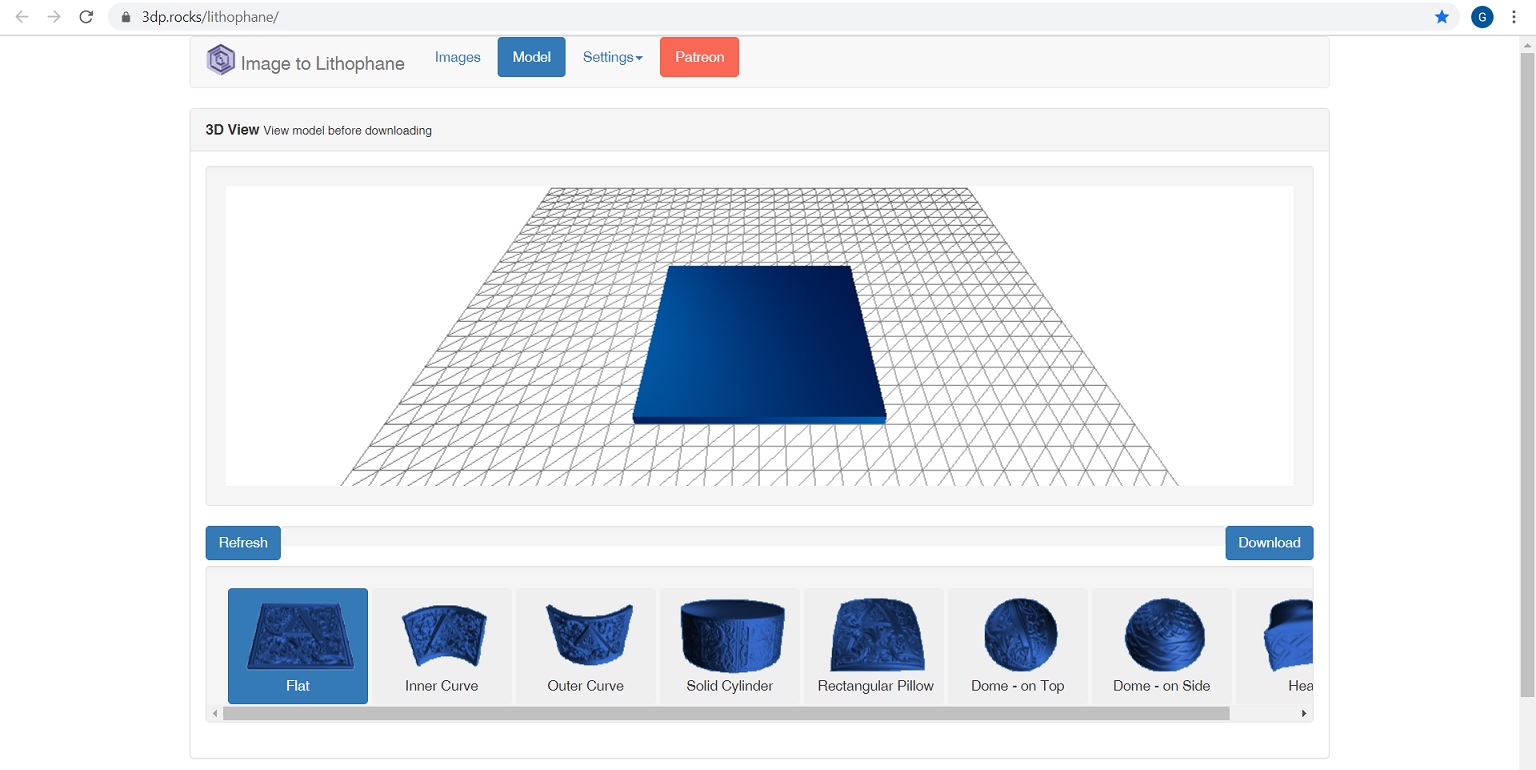
As we can see below, a series of models are offered to make our lithography. After choosing the one that suits us we need to make some adjustments using the “settings” function.
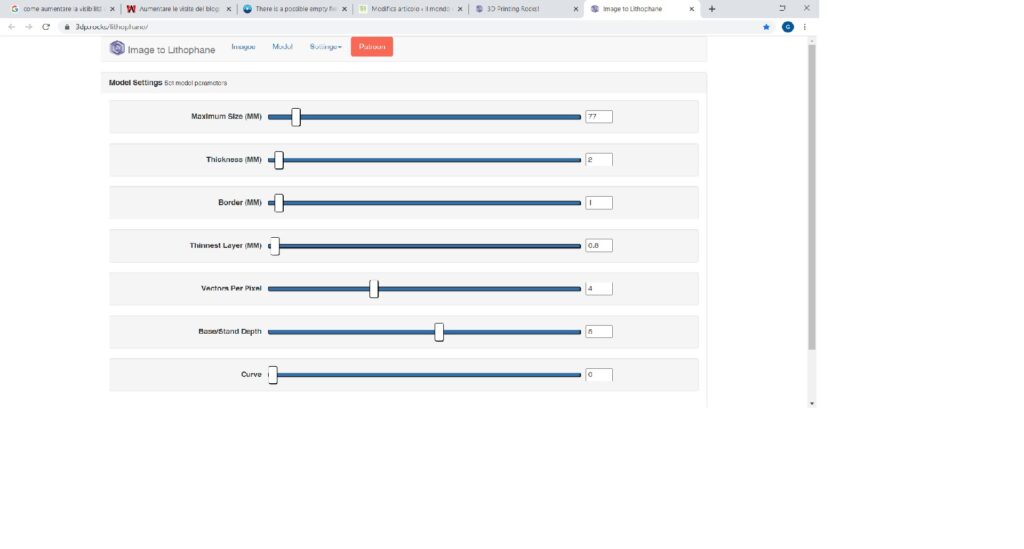
Clicking on “settings” opens a drop-down menu where basically we are interested only in the first two items, “Model Settings” and “Image settings”.
Let’s set the basic parameters
In the first, the items that may interest us most are “Maximum Size” where we set the size of our lithophane, “Thickness” where we configure the thickness of the lithophane. The other items allow us to make other adjustments based also on the model chosen to print.
In “Image Settings” to create our lithography we will have to move the first bar item all the way to the left on “Positive Image”, the rest for the moment we can leave it on the default.
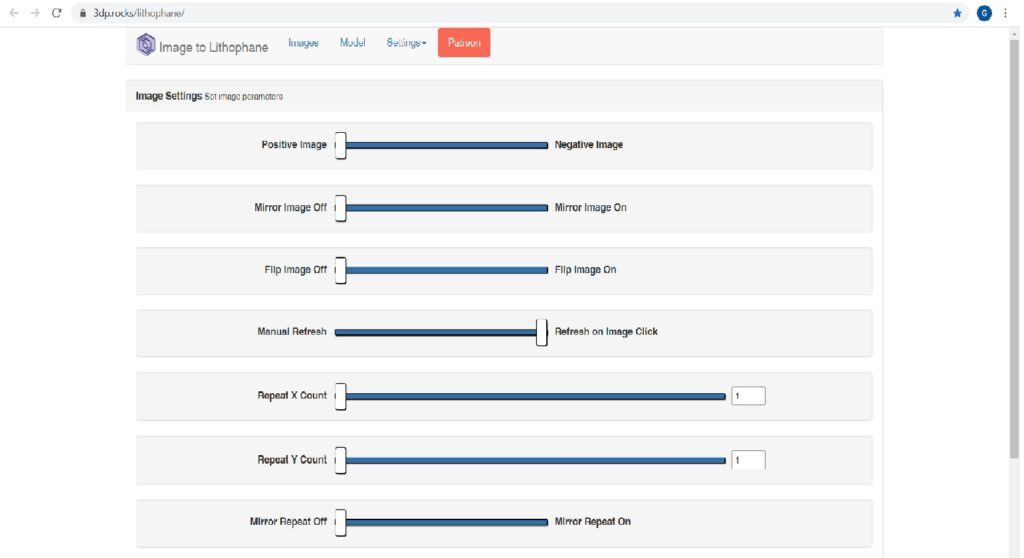
At each change pressing “Refresh” we will be able to see the result of the change made. When you reach what you want, just press “Download” to have our file to be analyzed by the slicer we prefer.
In some cases we may receive the message of “non-manifold”, in this case in “Model Settings” we can try to increase the thickness of the lithophane by acting on the “Thickness” slider increasing it a little.
In any case, we can still try to get it “repaired” by one of the online services listed in this article or with a software like netfabb.
Printing tips
Obviously the best result will be obtained with clear and possibly translucent filaments and my personal advice regarding the printing of the obtained file is to use a 100% filling and lower the speeds as much as possible. Of course, the smaller the layer thickness, the better the quality of our lithophane, but this is a rule that applies to all prints.
if you want to know more, if you need help write to info@3deasy.it
if you want to be updated on the next article, fill in the following fields to subscribe to the newsletter.