Category Archives: tutorials

let’s see how some parts of 3d printers are made and how they work

FIRST LAYER, HOW TO MAKE IT PERFECT

Some tips to have a perfect first layer.
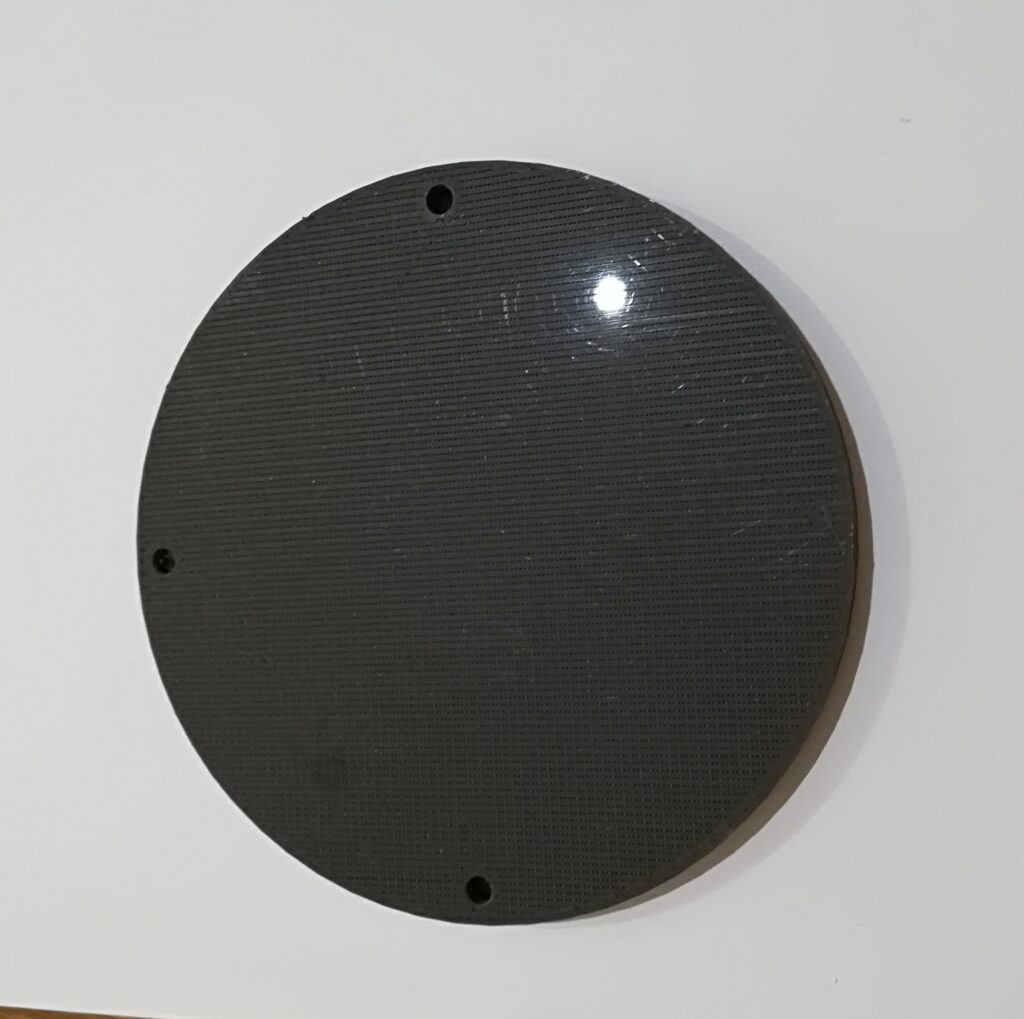
primo layer

To have a perfect first layer has many positive aspects, first of all, to have a good adhesion to the bed.


Equally important is the physical aspect, often the first layer of the object is also the one exposed to the user view.


To get a perfect first layer, we take for granted that the 3d printer is well calibrated from a mechanical point of view, that is perfectly fitted.

Continue reading FIRST LAYER, HOW TO MAKE IT PERFECT

FINISH 3D PRINTS

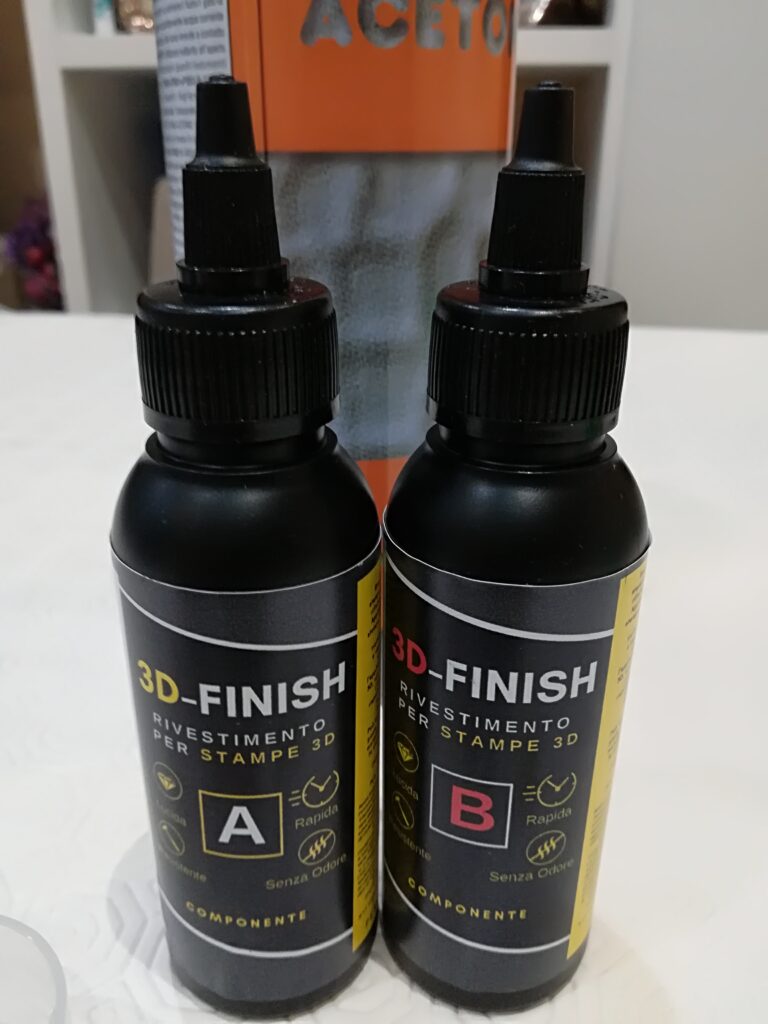
3D FINISH!

FINALLY A PRODUCT TO FINISH 3D PRINTS

3d finish

Today I want to recommend an article that must not be missing in our drawers to finish 3d prints, 3d finish.

I received a sample of this product directly from RESIN PRO to try to verify its effective validity and ease of use.

It is a two-component resin specific to finish 3d prints, easy to use and in my opinion it guarantees an exceptional result.

Continue reading FINISH 3D PRINTS

hotend, what it is and how it works

Hotend, how it’s done and how it works

The hotend is one of the most important components of FDM 3D printers as it deals with the fusion and subsequent deposition of the layers of our piece to be printed. Even if, trivializing, it could be said that its task is “only” to dissolve the filament, reality teaches us that to perform this simple step well, a hotend must have not indifferent qualitative characteristics of components and assembly to guarantee a smooth running smoothly. The parts that make up a hotend are not many and I will group them into 3 sections which we will then analyze individually.

hotend"

Let’s get to know the importance of the 3 areas better, starting from the entry for the filament with pneumatic connection. It is certainly the least critical part of the hotend, it only has to ensure the entry of the filament into the actual body of the hotend. The pneumatic connection houses the PTFE tube where the filament flows. The pneumatic connection is screwed to the hotend body and ensures the absence of play in the case of an indirect bowden extruder

Continue reading hotend, what it is and how it works

clean the nozzle

how to clean the nozzle

The world of 3d printing, especially for those who deal with it at a hobby level, is unfortunately not free from problems. An unexpected event that can happen is that related to the obstruction of the nozzle of our hotend on the part of the filament. Fortunately, it does not happen often and in any case there are many ways to clean it, for example it is often sufficient to extrude a material with a higher operating temperature than the one causing the cork, or if the block was due to the abs, a bath of a few hours in acetone often solves the problem. In my specific case, the block was due to some plaque that I had neglected, causing it not only to deteriorate but also to dust. This caused, after a few minutes of printing, an obstruction of the nozzle which was not easy to remove with the most common methods. So I came up with a “soooo homemade” way to clean the nozzle.

Continue reading clean the nozzle

stepper motors

stepper motors

Why stepper motors are used in 3d printers?
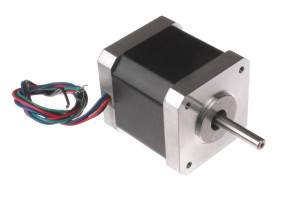
motori passo passo
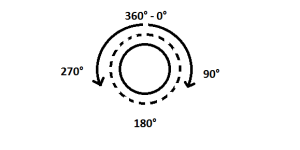
One of the main characteristics of stepper motors is that of being able to perform a complete rotation divided into small sections. A complete rotation means a movement of 360° from a starting point on a circumference.

To simplify the concept, let’s imagine that we can turn the shaft of our stepper motor by 1° at a time, to make a complete rotation we will have to “tell” the motor to operate 360 times always in the same direction.
motori passo passo

These small movements are the “steps” and we can easily understand that the level of precision that we’re going to get is defintely high. The stepper motors that are used for 3d printers generally have steps of 1.8° which means that to make a complete rotation we will have to operate our motor 200 times (200×1.8° = 360°), therefore we have an excellent level of accuracy.

This precision is used to make really small movements with the moving parts of the 3d printer, this allows a remarkable level of accuracy and detail in our prints.

Continue reading stepper motors

tuning of driver Vref

tuning of driver Vref 

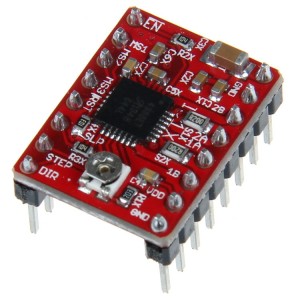
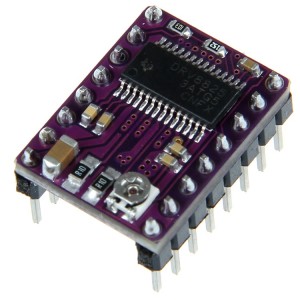
Regolare la vref dei driver A4988 Regolare la vref dei driver DRV8825

A very important step to properly set up our 3d printer is tuning of driver’s Vref of the motor’s step by step. Very often a hasty calibration of these drivers leads to lose some steps or even to their break due to overheating…

tuning of driver Vref

I have used both the most current DRV8825 and the A4988 StepStick, both on different printers with different cards. The main difference between the two drivers concerns the capacity of current supplied and the number of managed steps: 2A and 16 microstep for the A4988, 2.5A and 32 microstep for the DRV8825. Obviously the cost varies and the A4988 are naturally cheaper.

Continue reading tuning of driver Vref